Assignment 3
Observability and Serverless
Due Tuesday, February 27 at 11:59pm
Congratulations on finishing Assignment 2! You’ve now successfully deployed Yoctogram, now ready to serve the image-sharing needs of an arbitrary amount of users.
In Assignment 3, you’ll extend your existing Yoctogram deployment to add a Lambda function for image compression, as well as integrate with Datadog for observability.
Setting up
You’ll be building on your existing CDK code from Assignment 2. Keep the EC2 instance you used for Assignment 2, as well as the existing deployment you set up.
Pull starter code updates from the main branch of the starter code repository and update the submodules:
git pull --rebase upstream main
git submodule update --remote
Observability using Datadog
Here, you will add some instrumentation to the Yoctogram backend API on ECS using Datadog.
Signing up for Datadog
The GitHub Student Developer Pack gives you free access to Datadog for up to to 2 years (ending when your student status expires).
Then, create a Datadog account through your GitHub student pack.
After logging into your Datadog console at https://us5.datadoghq.com, search for “API Keys” using the search bar on the top left. Create a new key (you can name it anything you would like). Note down the value of the API key, as you will need it shortly.
Configuring Datadog with CDK
All code changes for this section will occur in compute_stack.py.
First, add import json and import Duration from aws_cdk to compute_stack.py. Your imports should appear as:
import json # new
from aws_cdk import (
    Stack,
    Duration, # new
    aws_cloudfront as cloudfront,
    aws_cloudfront_origins as cloudfront_origins,
    # Further imports here
Two-Step Deployment: Part 1
Now, add a new secret to the secrets manager to store the Datadog API key. You can do this the same way as we added the app_secret_key.
Thus, you will need to deploy the secret first, edit the value to the actual Datadog API key, and then deploy the rest of the Datadog resources in a separate step.
Now, run cdk deploy yoctogram-compute-stack.
Log into your AWS Console, and navigate to Secrets Manager. You should now see a new entry for the newly created secret.
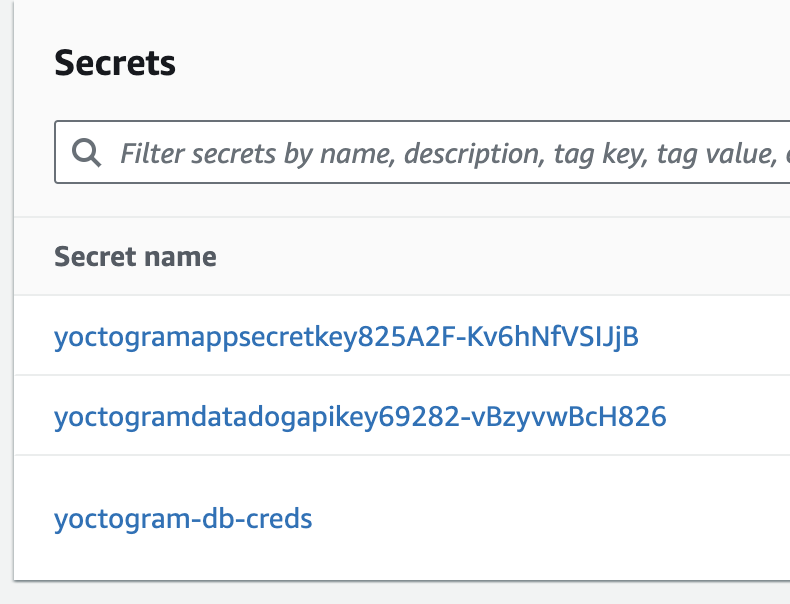
Click on the new secret, scroll down, and click “Retrieve secret value”.

This will show the placeholder value of the secret, and a new button “Edit” should pop up. Click this and paste the Datadog API key from earlier in (ensure there are no newlines), and then click save.

Two-Step Deployment: Part 2
Back in compute_stack.py, add the following labels to the existing container:
docker_labels={
    "com.datadoghq.ad.instances": '[{"host": "%%host%%", "port": 80}]',
    "com.datadoghq.ad.check_names": '["yoctogram-ecs"]',
    "com.datadoghq.ad.init_configs": "[{}]",
},
These labels will allow Datadog to interface with the containers.
You will now add a sidecar container to your existing ECS task for Yoctogram that will forward metrics and traces to Datadog’s backend. A sidecar container is a container that runs in the same task as your main backend container, which means it has access to the same internal network. This container will be used to run the Datadog agent, providing strong introspective capabilities into your environment. Add this container directly below the first container in the CDK. Make sure it meets the following requirements:
- Pulls the latest image from the official Datadog ECR registry
public.ecr.aws/datadog/agent:latest - Contains the following environment variables (these are used to configure Datadog to work with your environment):
ECS_FARGATE: "true",ECS_FARGATE_METRICS: "true",DD_SITE: "us5.datadoghq.com",DD_APM_ENABLED: "true",DD_PROFILING_ENABLED: "true",DD_APM_NON_LOCAL_TRAFFIC: "true",
- Injects the secret
DD_API_KEYinto the container, which should be retrieved from the secret you provisioned earlier - Configure logging in the same way as the previous container
- Has a health check with the following parameters:
- Runs the command
agent health - Three retries
- 5 second timeout
- 30 second interval
- 15 second start period
- Runs the command
- Has a port mapping from port 8126 on the container to port 8126 on the host
- Has the correct permissions to access the Datadog secret
To check that your configuration is at least free of the most common errors, run the grade3.sh script, which will tell you if there are any obvious errors with your code.
Once this passes, run cdk deploy yoctogram-compute-stack again, and this will add a container to your deployment that will forward traces and profiling information to Datadog.
Using Datadog to monitor your environment
Log into your Datadog console at https://us5.datadoghq.com. On the left-hand sidebar, under “APM”, click on “Traces”. Here, you’ll see a list of web requests being made to your app! Most of these will be from the automated health check, but you can also try clicking around on your Yoctogram deployment and seeing what traffic that generates.
app directory of your code and run git log. The most recent commit should be 7240014f460ace805dc48b4e23836bbf56f1411c with a commit title including Datadog. If this is not the case, run git pull origin main from that directory, then redeploy the compute stack. You should now have traces if you visit your site.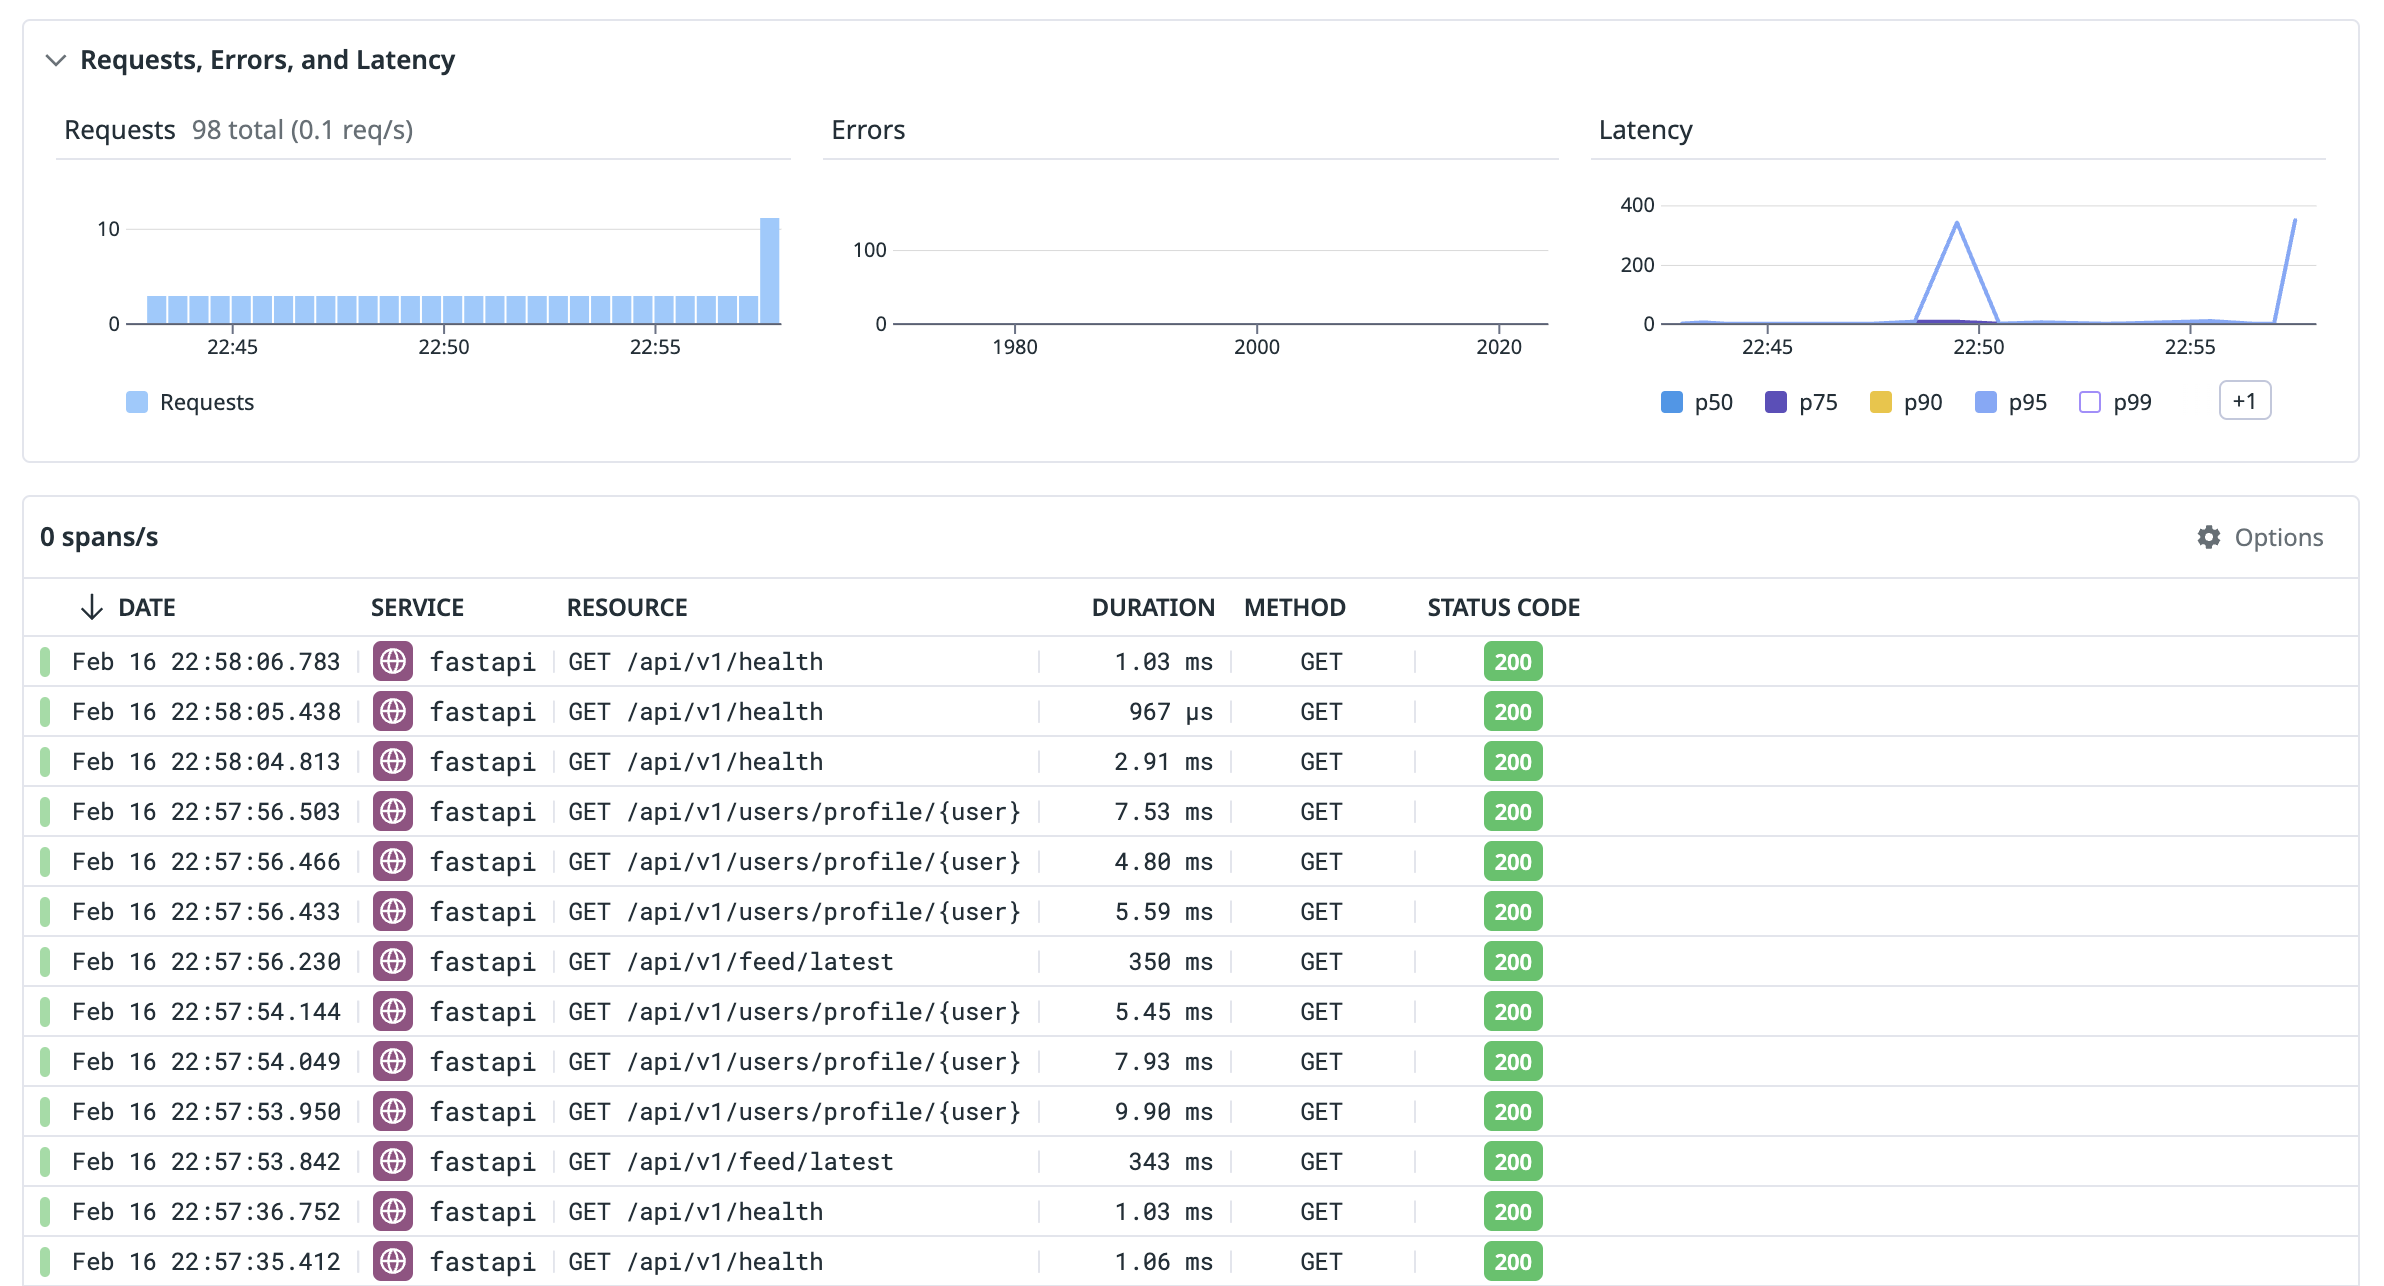
Now, go to https://provisiondns.infracourse.cloud/a3, sign in with your Google account, and click submit.
This will create an easily identifiable web request to your Yoctogram backend deployment, which has a flag in UUID format embedded in its HTTP User Agent header. As a reminder, a UUID looks like this:
6b3310f5-48f8-48a1-b610-7d3e8c774abeUsing Datadog, please find the flag and save it so you can access it later. You’ll submit the flag with the rest of your code – this helps us make sure you were able to use Datadog.
Compression using Lambdas
S3 provides a very minimal API. Thus, a common use of Lambdas is to add features to S3. For this and other reasons, Lambdas are often considered part of infrastructure rather than part of the application logic. For this assignment, we will implement a Lambda that compresses images before insertion. A real social media app would want to do this in order to save storage space and network bandwidth.
The Lambda has been written for you in compression/app.py. It runs in a Docker image built using the Dockerfile in the same directory. We want the Lambda to trigger every time an image is uploaded to either the public or private images bucket. The Lambda will compress the image and insert the compressed image into the same bucket (we have included logic to prevent an infinite loop, but normally you would deposit the compressed image into a different bucket).
All the code changes for this portion will occur in data_stack.py. First, modify your aws_cdk imports to look like the following:
from aws_cdk import (
    Duration,
    Stack,
    aws_cloudfront as cloudfront,
    aws_ec2 as ec2,
    aws_lambda as lambda_,
    aws_lambda_event_sources as lambda_event_sources,
    aws_rds as rds,
    aws_s3 as s3,
)
which you can do by adding Duration, aws_lambda as lambda_ and aws_lambda_event_sources as lambda_event_sources to the existing imports.
At the end of the file, you want to actually add the Lambda (it doesn’t actually matter where, but the bottom is a safe place). Make sure the Lambda:
- Is run from the provided Docker image, where the
Dockerfileis located in"../compression" - Runs on ARM64 architecture
- Is triggered whenever an image is inserted into either the public or private image buckets (the Lambda term for such an occurrence is an “event”)⚠️Ensure that this trigger is only effective on
POSTrequests and notPUTrequests. This will prevent the Lambda from retriggering on events generated by its own compression and bucket write action. - Has a timeout of 30 seconds
- Has a memory size of 1536 MB
- Has the correct permissions to access both the public and private image buckets
To check if everything works, examine the S3 buckets and make sure the images are compressed (read: they look much worse than the ones you originally uploaded, and are significantly smaller).
Submission and Grading
To submit your code, first ensure that a file called SUNET exists in the root of the assignment directory (that’s the one with the subdirectories app, cdk, and web, as well as some other files) that contains only your SUNet ID. If you got points for Assignment 2, this file should exist already.
Now, create a file called FLAG in the same directory that contains only the flag you retrieved from Datadog. For example, an example FLAG file would contain the following:
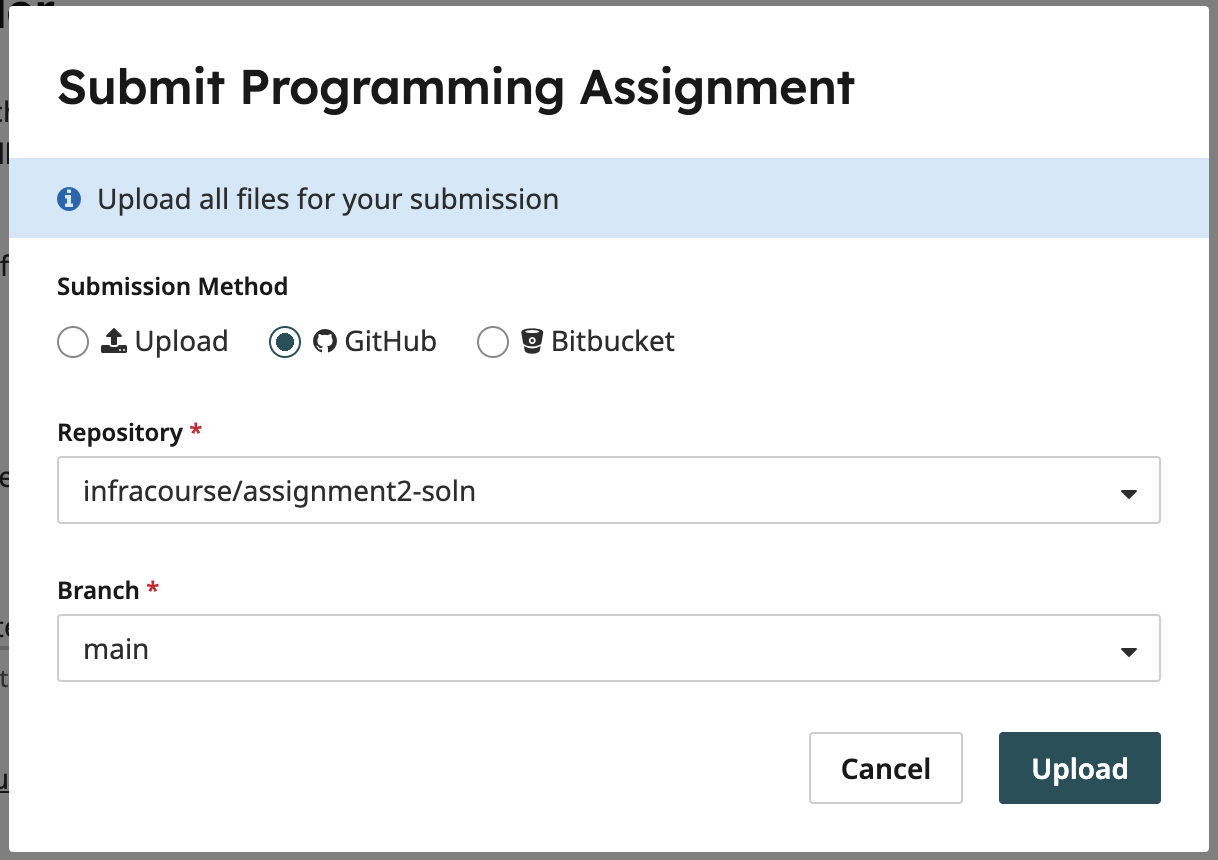
6b3310f5-48f8-48a1-b610-7d3e8c774abeFLAG and the contents of the file should be the flag. Calling the file 6b3310f5-48f8-48a1-b610-7d3e8c774abe would be incorrect.Commit and push this file to GitHub, then upload your submission to Gradescope from GitHub.
The point distribution for this assignment is as follows:
- 56 points: Static Open Policy Agent evaluation against our OPA policies. This step verifies that the CloudFormation your CDK is synthesized to is compliant to our specification. All the tests are public in the
rulesdirectory and you are able to test this yourself using thegrade3.shscript. - 60 points: Verification of proper image compression. We impersonate a real user, creating accounts and attempting to upload and view images. If you can open the site in a browser and are able to use it, and your compression Lambda works as expected, you should get full points.
- 34 points: Verification of the flag that you retrieved from Datadog.